DIY Hot Wire Cutter — How I Saved $3,000 on Insulation for the Cliffside Bunkhouse
DIY Hot Wire Cutter — How I Saved $3,000 on Insulation for the Cliffside Bunkhouse
“Sometimes the cheap solution costs you more — unless you figure out how to fix your mistakes.”
The Problem: Insulating a Cabin Without Breaking the Bank
When you’re building off-grid, every dollar matters.
For the Cliffside Camp bunkhouse, I needed to insulate three 12x12 rooms — but traditional fiberglass insulation was going to cost me close to $3,000. That’s a tough pill to swallow when you’re working with reclaimed wood, milling your own beams, and trying to keep the project affordable.
Then I found a deal: 4x4 sheets of EPS Styrofoam insulation for only $2 a sheet.
That brought the total cost down to under $150 — but there was one big problem: these sheets were all different thicknesses. I needed a reliable way to cut them cleanly.
The Idea: Build a DIY Hot Wire Cutter
If you’ve ever tried cutting Styrofoam with a carpenter’s knife, you know it’s messy, slow, and frustrating. I also tried an electric meat carver — it worked, but it was painfully slow.
So, I decided to build a hot wire cutter using parts I already had and a few affordable pieces from Amazon.
My setup included:
A 24V 10A power supply ($27)
A PWM dimmer switch to control heat ($17)
25-gauge nichrome wire for resistance ($14)
A sturdy wooden frame with a spring for tension
A few connectors and adapters ($30)
With this simple jig, I could slice through EPS like butter — but not before making a few costly mistakes.
The Three Mistakes You’ll Want to Avoid
1. Using Too Long a Wire
My first version had way too much loose wire. When the wire gets hot, it expands — and if it’s long, it sags. That gave me uneven, wavy cuts.
Fix: Keep your wire only slightly longer than your cutting width.
2. Weak Spring Tension
I started with a weak little spring that couldn’t hold the wire tight. When the wire heated up, it drooped even more.
Fix: Use a stronger spring or shorten the wire span to keep tension consistent.
3. Reversed Polarity on the Dimmer
This one nearly drove me nuts. I wired my power supply backwards — positive to negative and vice versa — and the dimmer switch simply wouldn’t work.
Fix: Always double-check your polarity when wiring DC current. It matters more than you think!
The Result: Smooth Cuts and Huge Savings
Once those three issues were fixed, the cutter worked perfectly.
It’s not lightning fast, but it’s clean, quiet, and efficient — way better than sawing or carving by hand.
And the best part? I insulated the entire bunkhouse for less than $150, saving nearly $3,000 compared to traditional materials.
If you’re working on an off-grid build or homestead project, this simple DIY tool could save you hundreds — maybe even thousands — and teach you a bit about how heat, resistance, and power interact.
🎥 Watch the Full Build Video
About Cliffside Camp and The Off Grid Ark
This project is part of my Cliffside Camp Build Series — an ongoing look at how we’re creating a year-round, off-grid retreat for outdoor education groups here at The Off Grid Ark.
📍 Located in Western Quebec, just 45 minutes from Ottawa, The Off Grid Ark is a 164-acre property featuring off-grid cabins, a private trail network, and hands-on learning experiences in renewable energy, woodworking, and backcountry living.

Built a homemade hot wire cutter using nichrome wire, a PWM controller, and a laptop adapter to slice reclaimed EPS insulation for the bunkhouse floor.

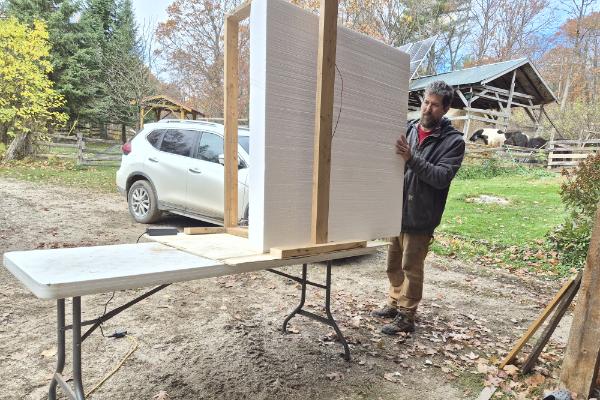
Using the homemade hot wire cutter to thin down reclaimed EPS foam panels — with Diaz watching closely as the insulation is trimmed to fit the bunkhouse floor.

Close-up of the DIY hot wire cutter setup — a simple build using a laptop power adapter, PWM controller, and nichrome wire to make clean cuts through EPS insulation.
